Clerk Integration Guide
This guide walks you through integrating Clerk with Centrali for external authentication and authorization.
Prerequisites
- A Clerk account with an application
- A Centrali workspace
- The Centrali SDK installed (
npm install @centrali-io/centrali-sdk)
Step 1: Create a JWT Template in Clerk
Clerk uses JWT Templates to customize the claims in your tokens. Create a template that includes the claims you want to use for authorization.
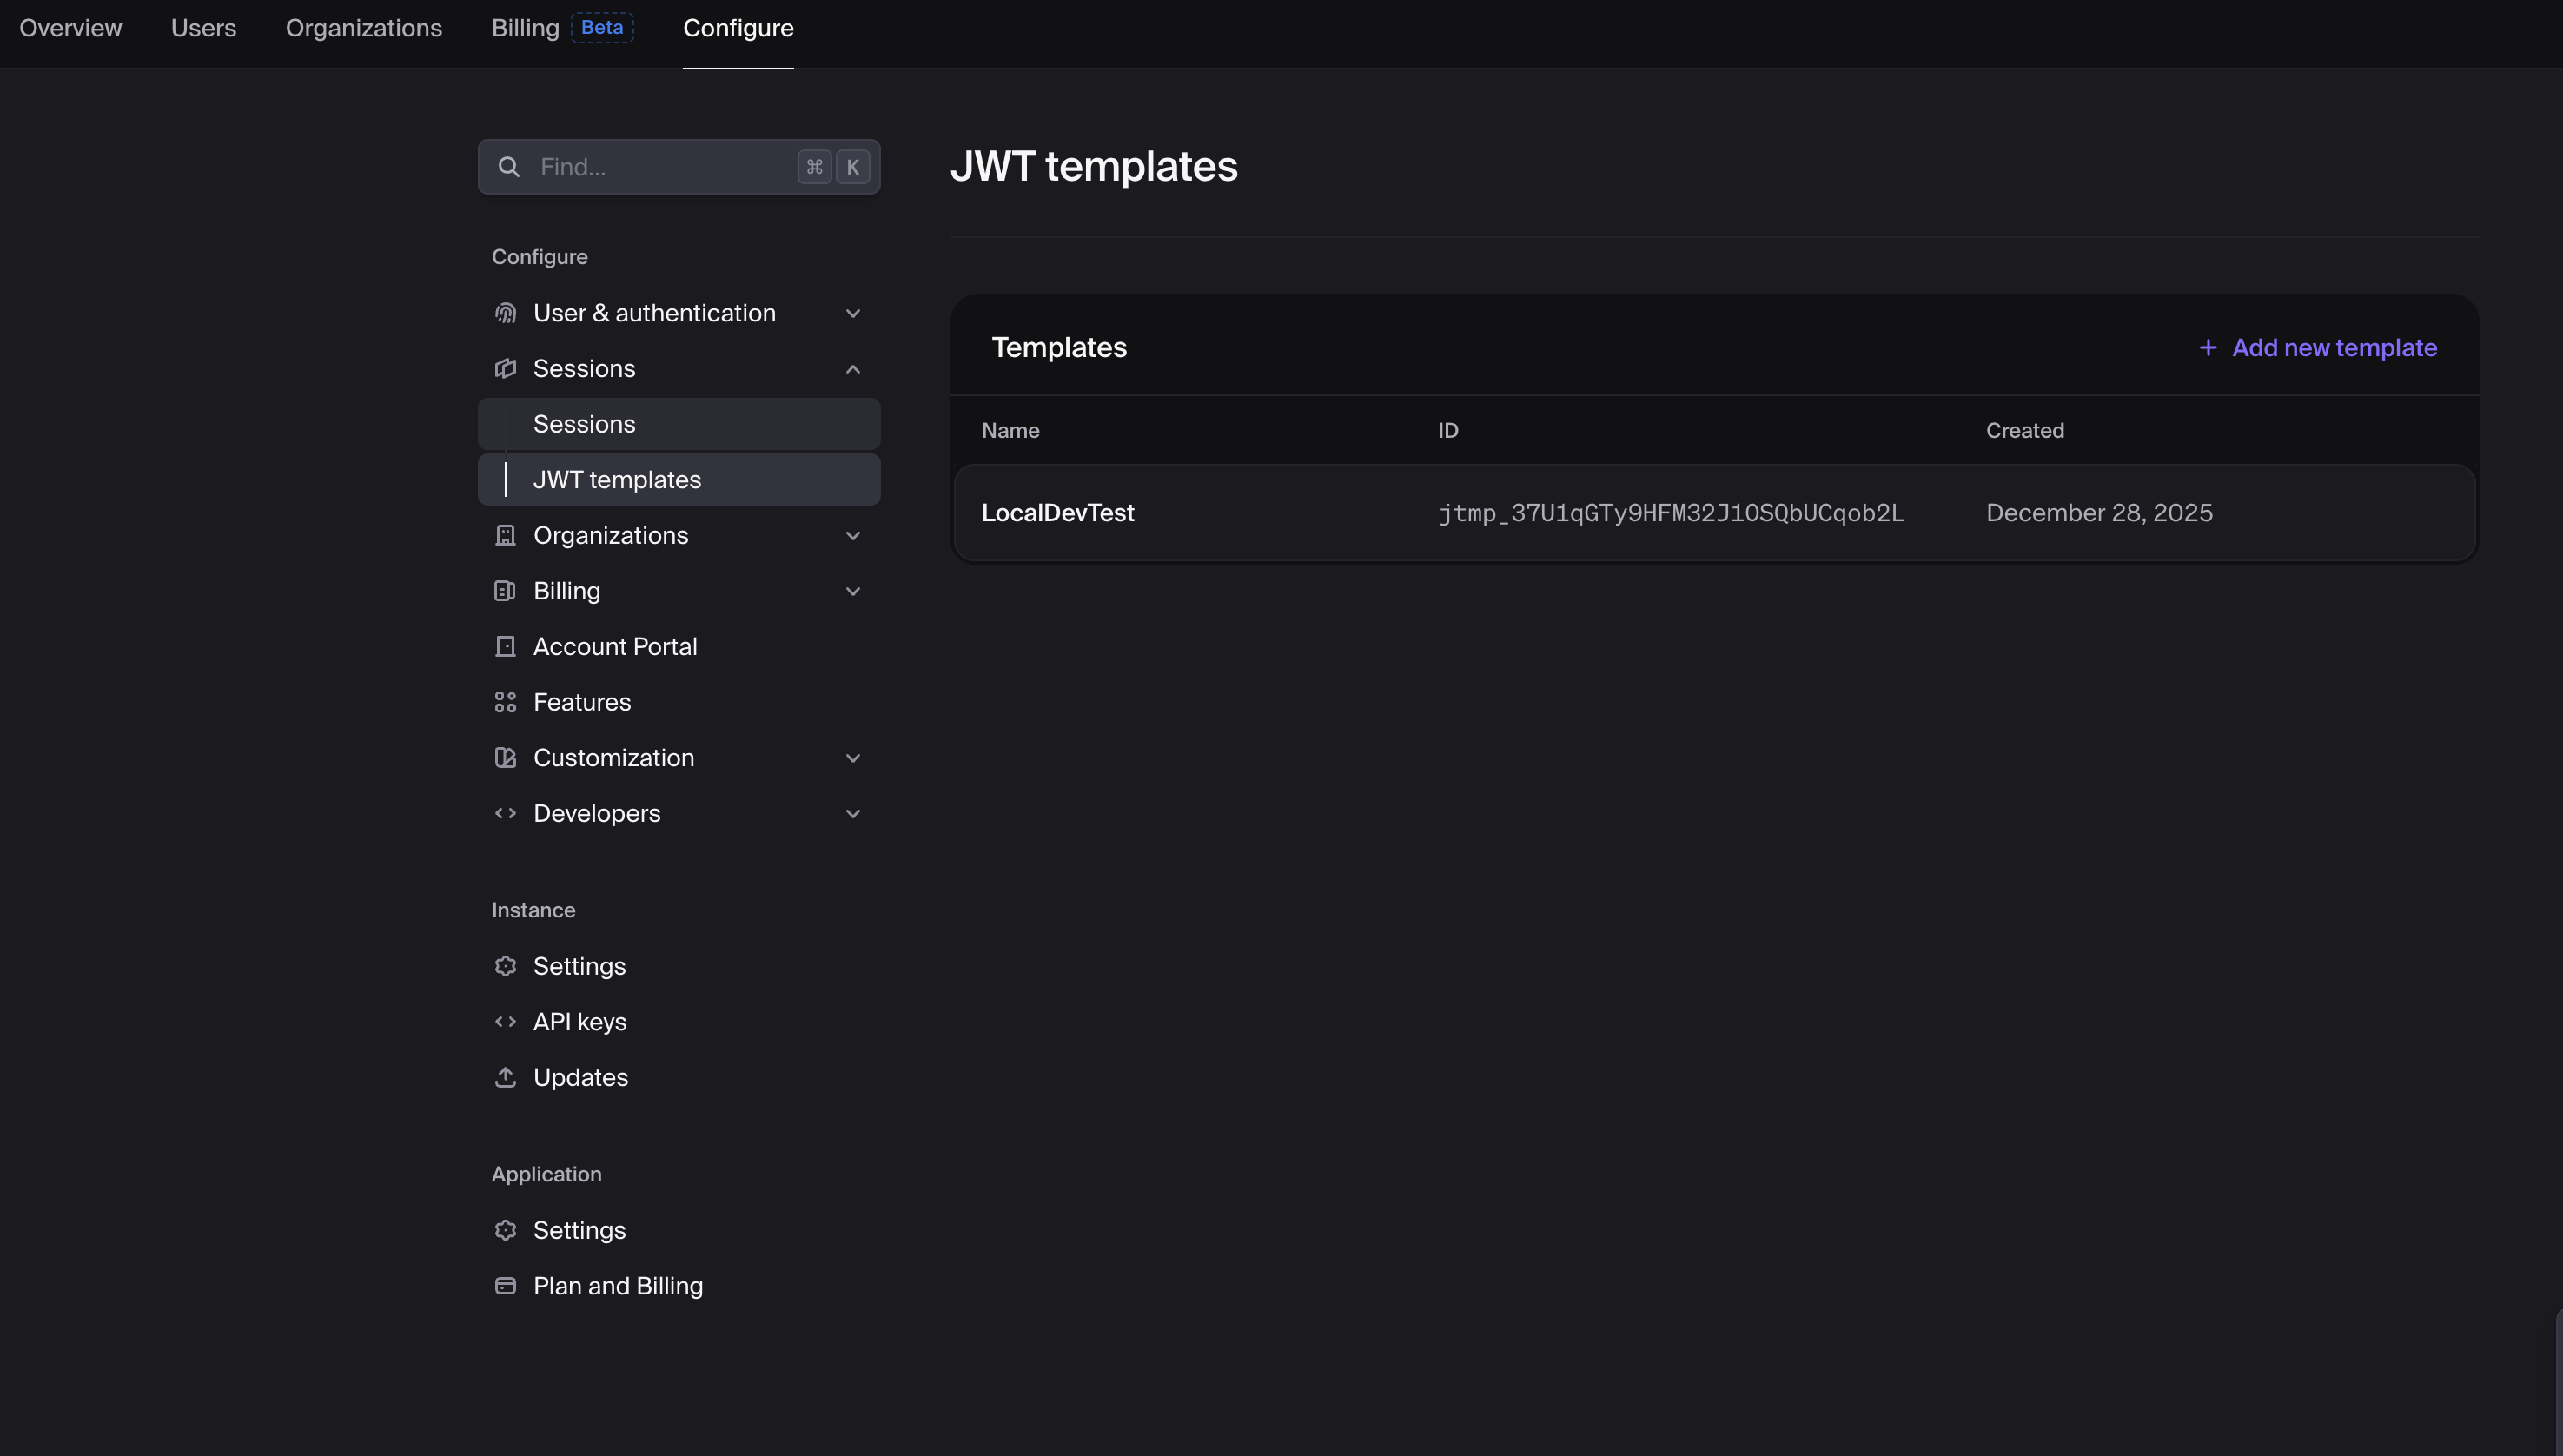
In Clerk Dashboard:
- Go to Configure → Sessions → JWT Templates
- Click Add new template → Blank
- Name it (e.g.,
centrali)
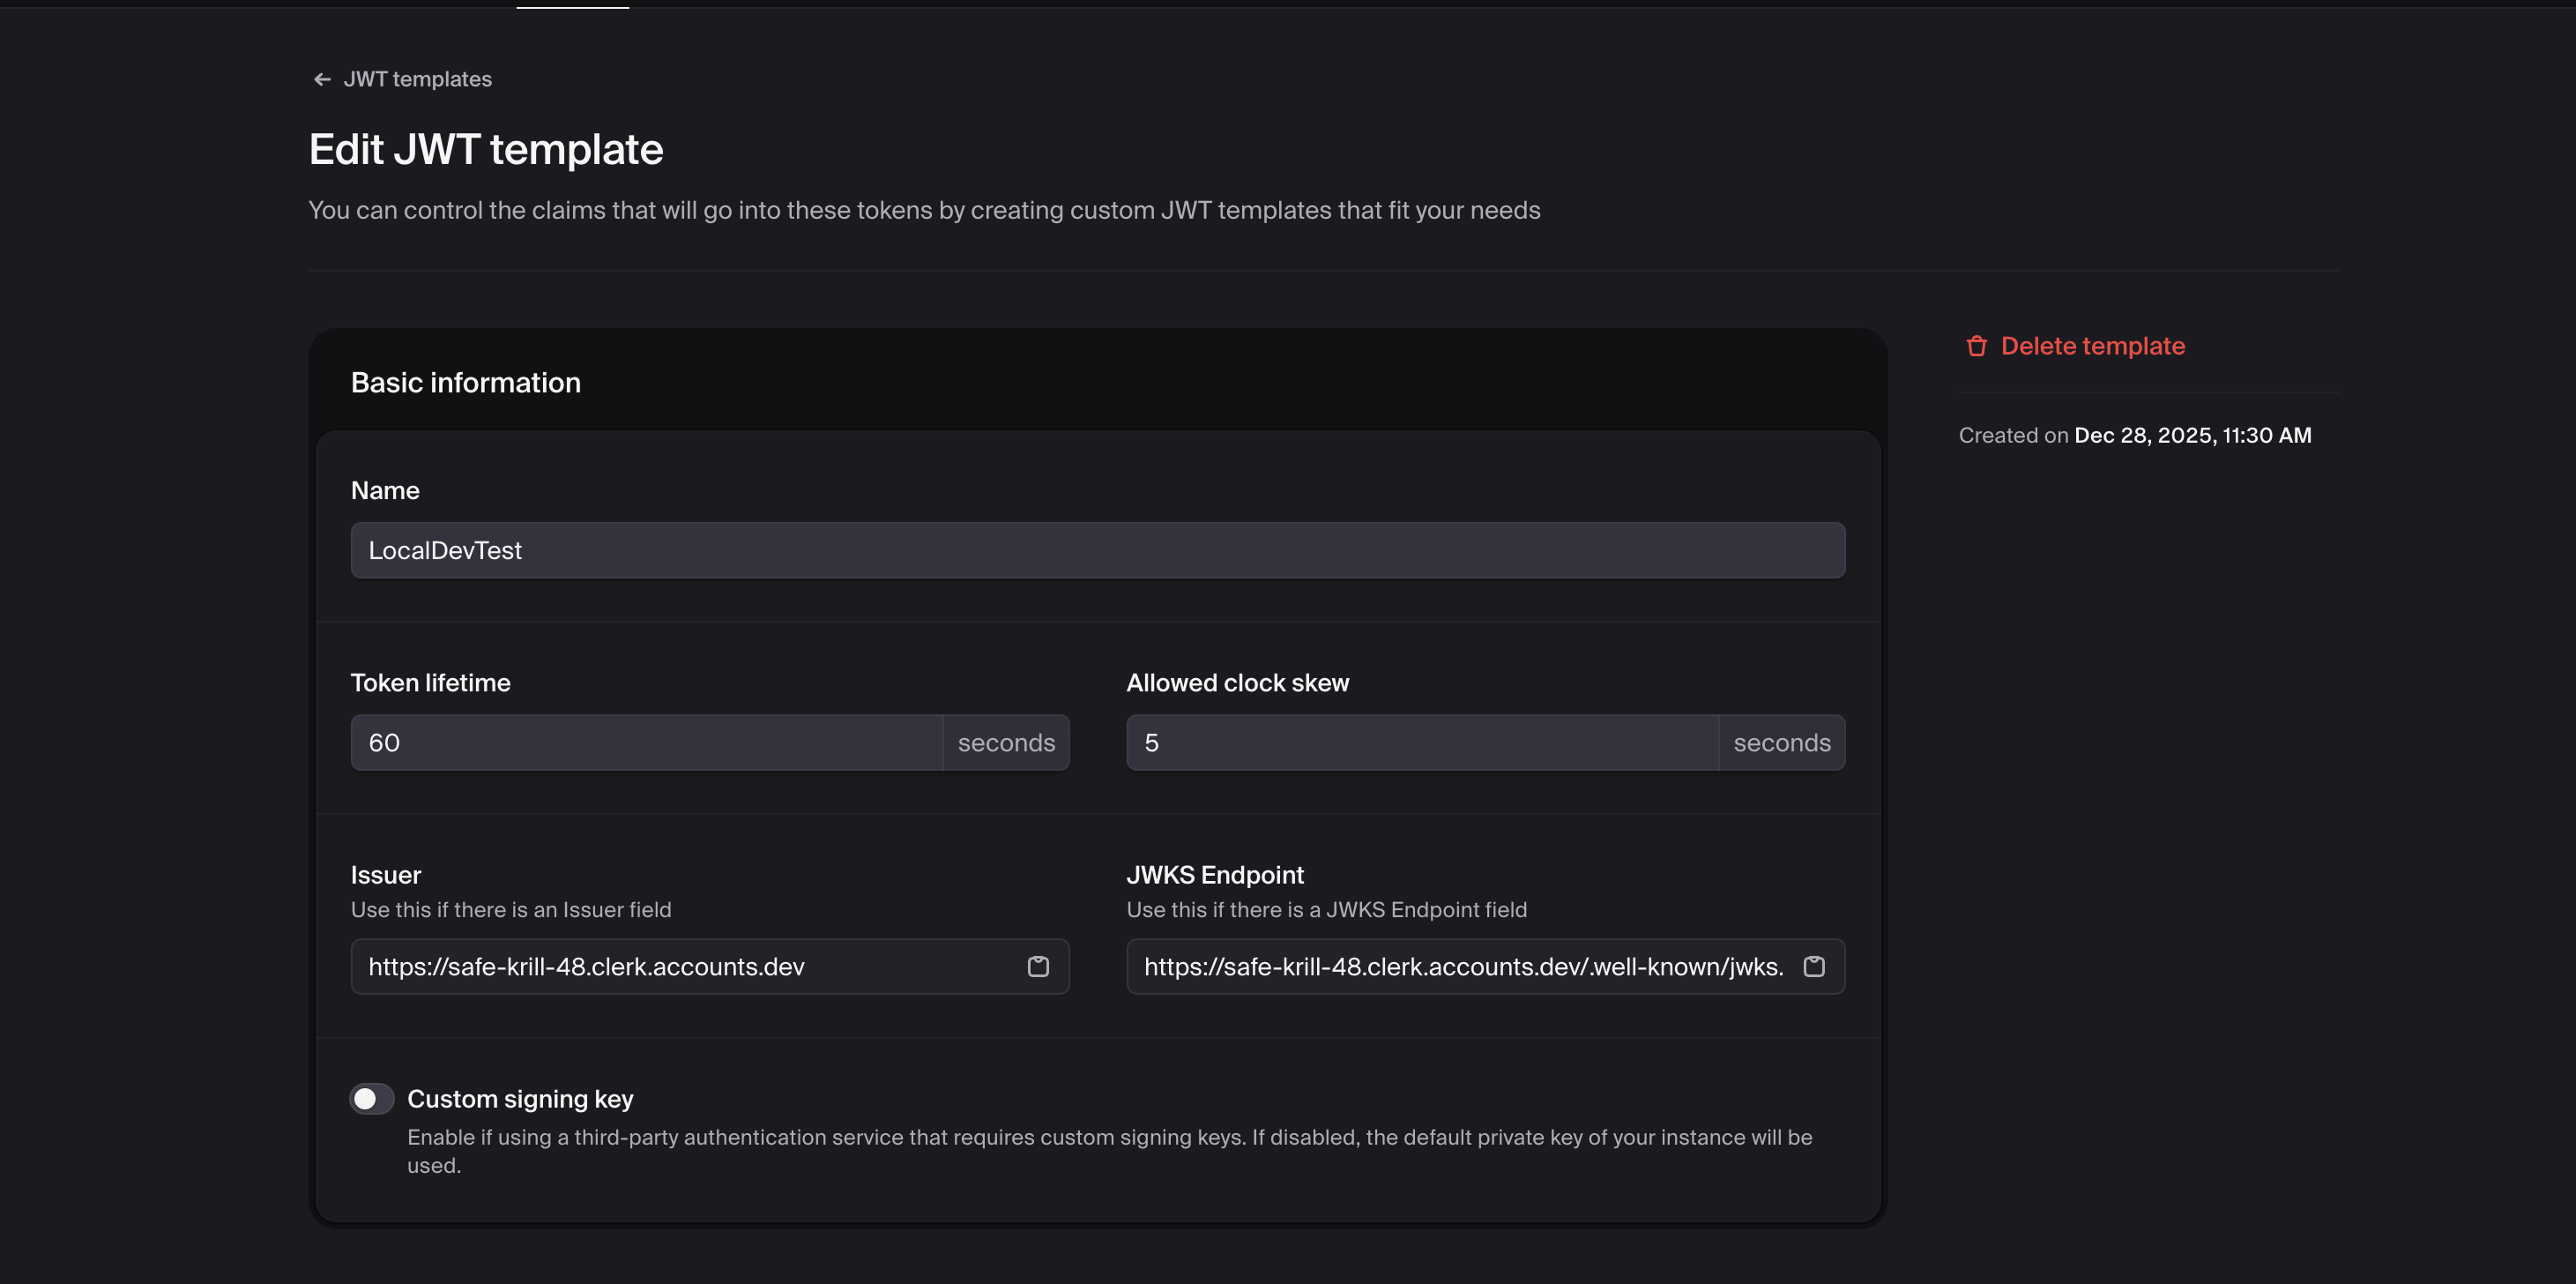
Configure the Template:
Basic Settings: - Token Lifetime: 60-300 seconds recommended - Allowed Clock Skew: 5 seconds
Claims:
Add the claims you want available in Centrali policies:
{
  "aud": "convex",
  "name": "{{user.full_name}}",
  "role": "{{user.public_metadata.role}}",
  "email": "{{user.primary_email_address}}",
  "plan": "{{user.public_metadata.plan}}",
  "org_id": "{{org.id}}",
  "org_role": "{{org.role}}"
}
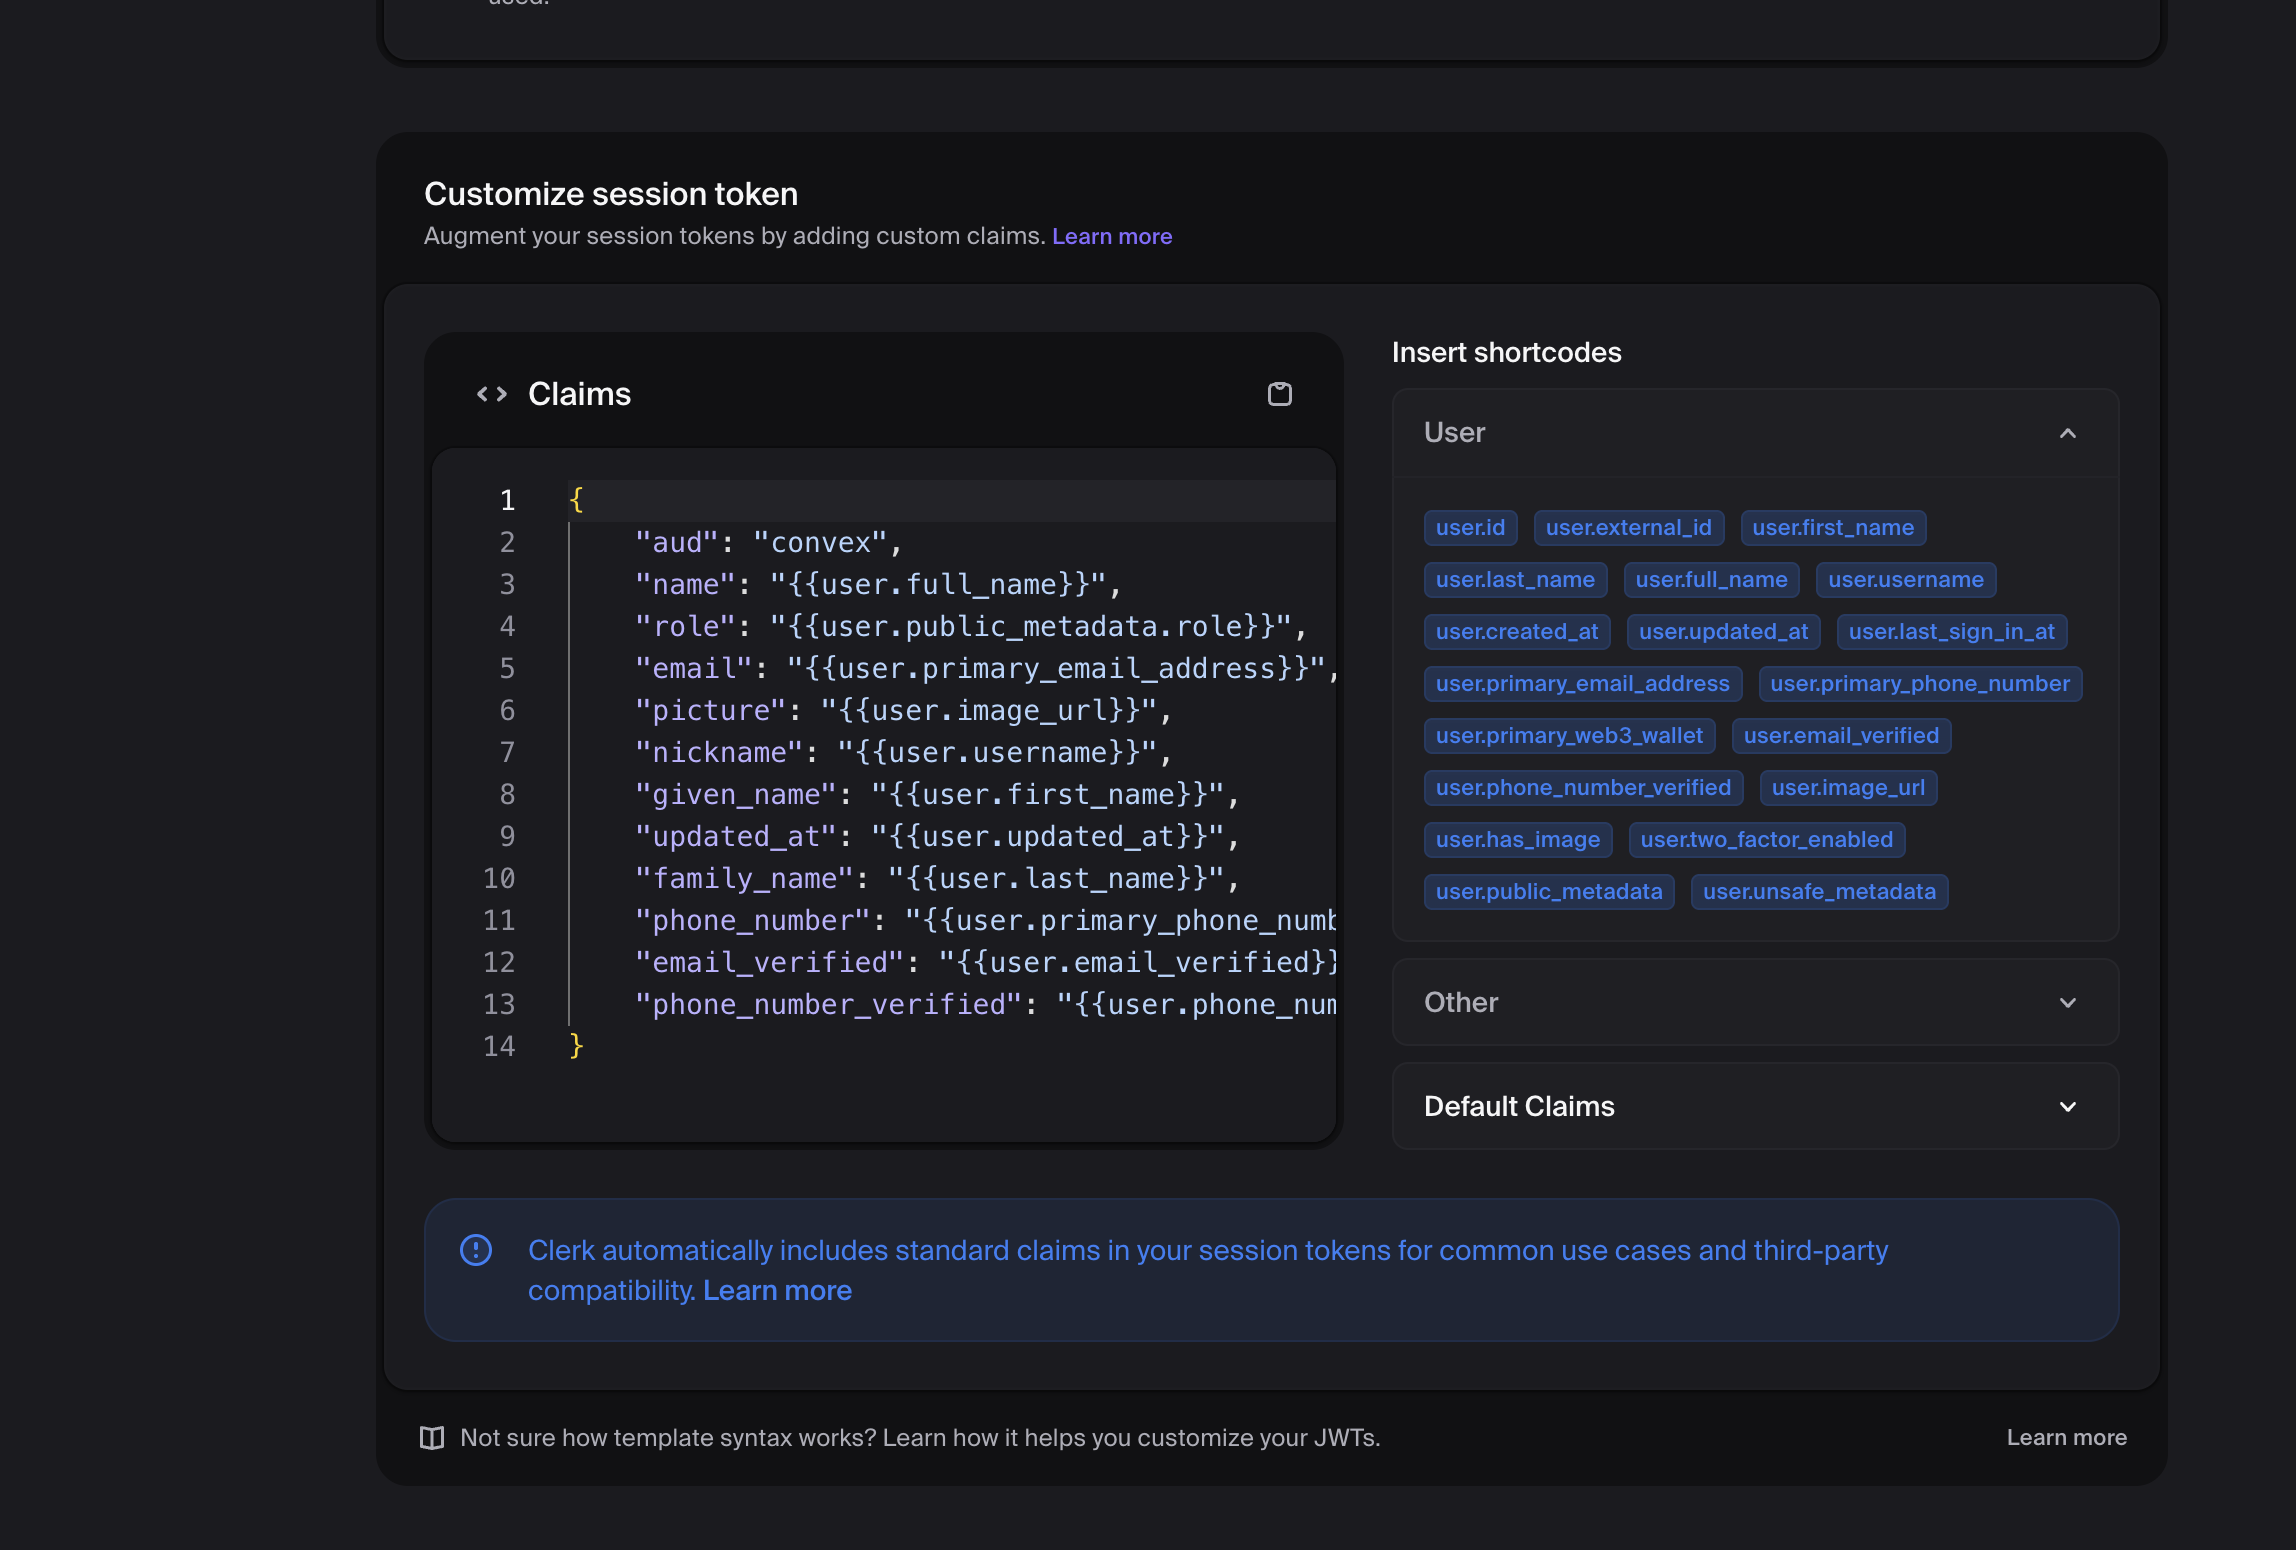
Available Clerk Variables: - {{user.id}} - Clerk user ID - {{user.full_name}} - User's full name - {{user.primary_email_address}} - User's email - {{user.public_metadata.*}} - Custom user metadata - {{org.id}} - Organization ID - {{org.role}} - User's role in the organization
Step 2: Configure External Auth Provider in Centrali
In Centrali Console:
- Go to Settings → External Authentication Providers
- Click Add Provider
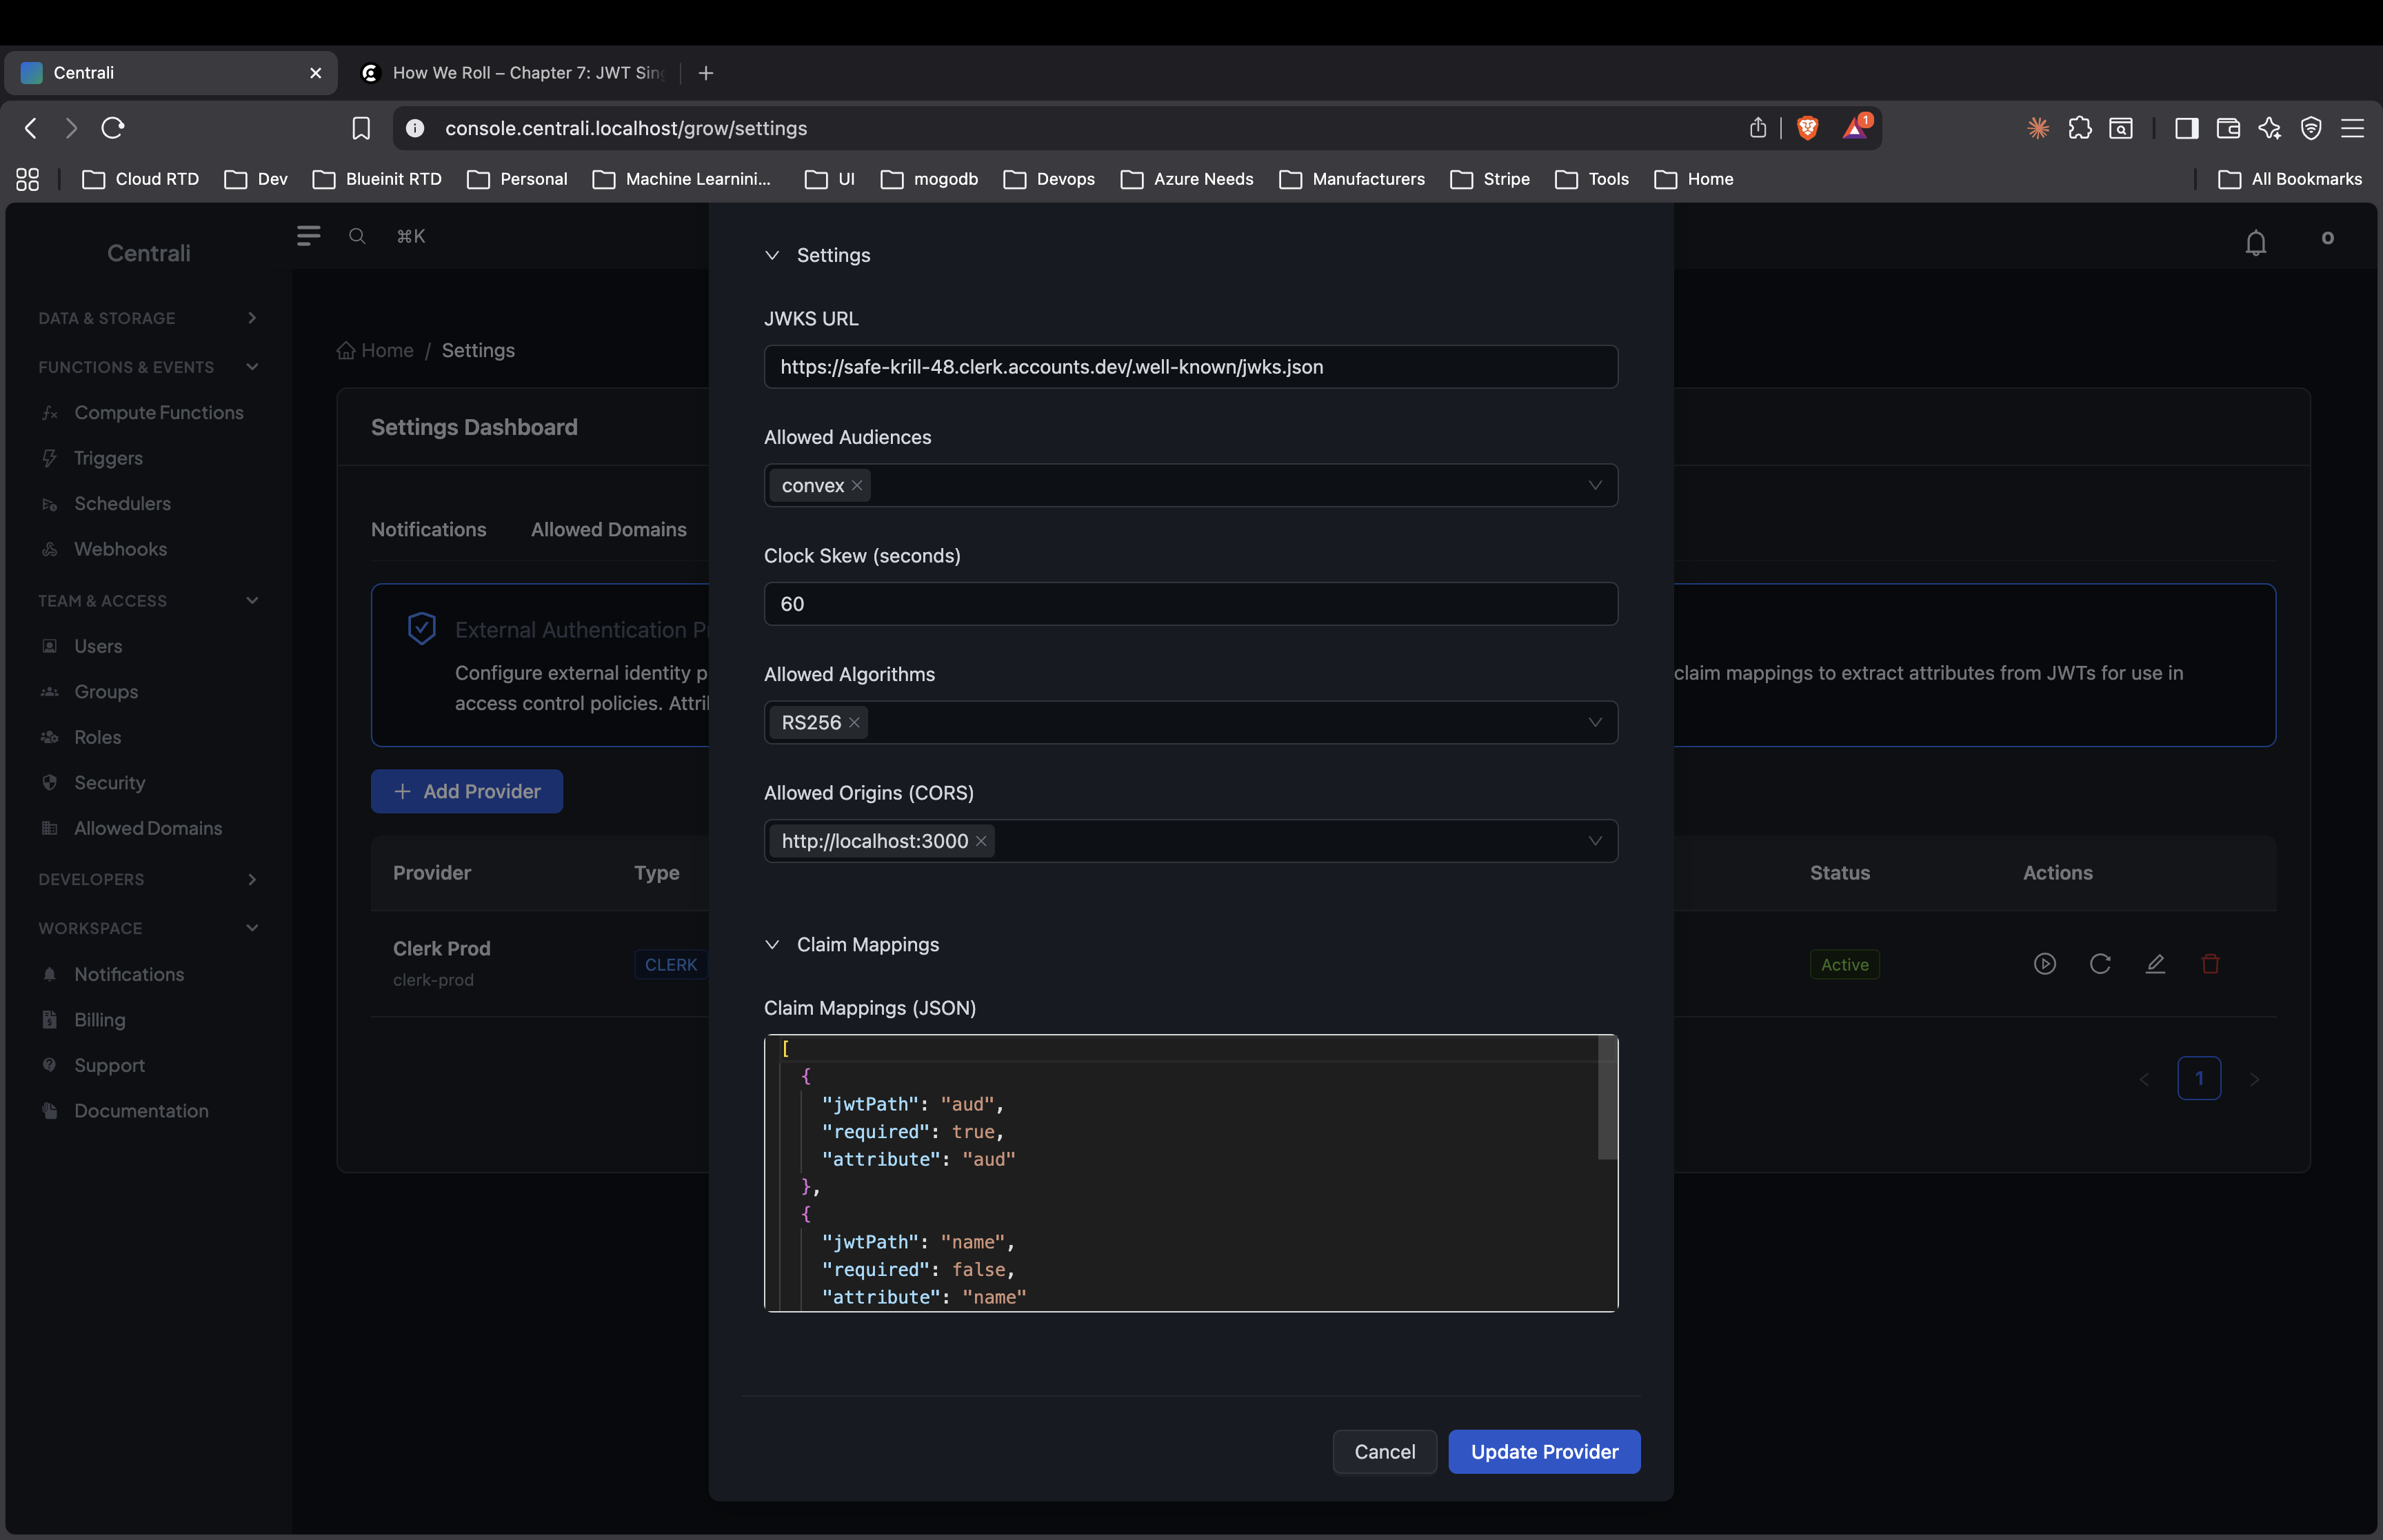
Fill in the Configuration:
| Field | Value |
|---|---|
| Provider Name | Clerk (or any name) |
| Provider Type | Clerk |
| Issuer URL | https://<your-clerk-domain>.clerk.accounts.dev |
| Allowed Audiences | Your audience value (e.g., convex) |
Find your Clerk issuer URL: - In Clerk Dashboard → Configure → Sessions → JWT Templates - Click your template → Copy the Issuer field

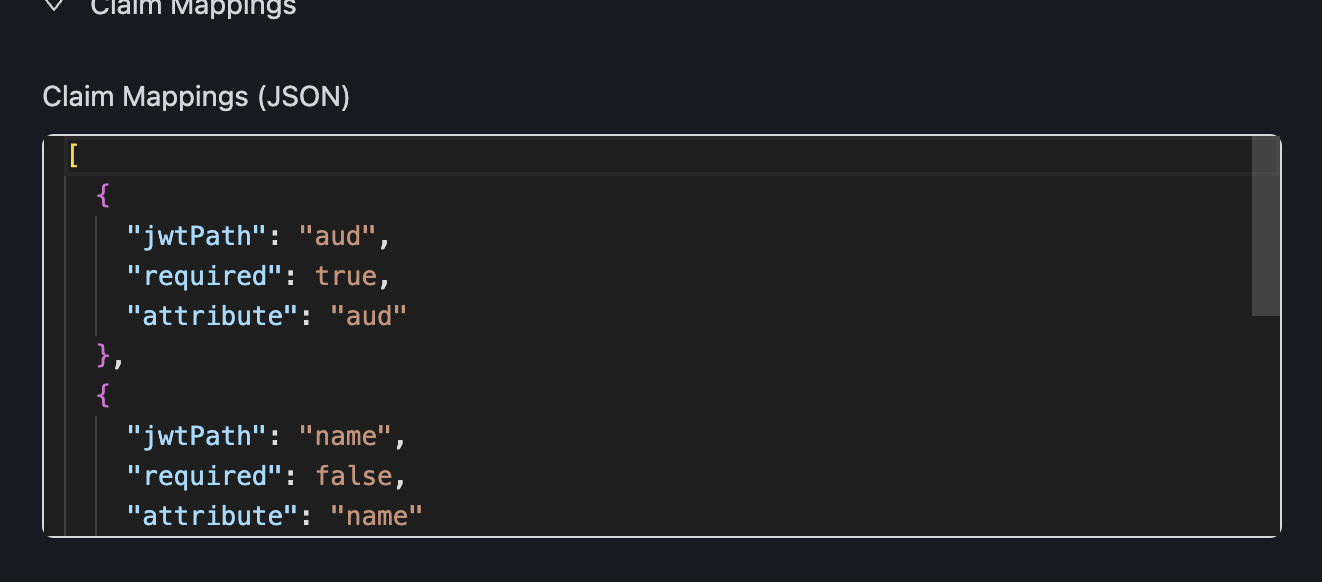
Configure Claim Mappings:
Map JWT claims to policy attributes:
[
  {
    "jwtPath": "aud",
    "attribute": "aud",
    "required": true
  },
  {
    "jwtPath": "name",
    "attribute": "name",
    "required": false
  },
  {
    "jwtPath": "role",
    "attribute": "role",
    "required": false
  },
  {
    "jwtPath": "plan",
    "attribute": "plan",
    "required": false,
    "defaultValue": "free"
  },
  {
    "jwtPath": "org_id",
    "attribute": "org_id",
    "required": false
  },
  {
    "jwtPath": "org_role",
    "attribute": "org_role",
    "required": false
  }
]
These claims become available in policies as: - ext_aud - ext_name - ext_role - ext_plan - ext_org_id - ext_org_role
Step 3: Create Authorization Policies
Create policies that use the extracted claims.
Example: Role-Based Access
{
  "name": "admin_access",
  "specification": {
    "rules": [{
      "rule_id": "admin-allow",
      "effect": "Allow",
      "conditions": [
        { "function": "string_equal", "attribute": "ext_role", "value": "admin" }
      ]
    }],
    "default": { "effect": "Deny" }
  }
}
Example: Plan-Based Feature Gating
{
  "name": "premium_features",
  "specification": {
    "rules": [{
      "rule_id": "premium-allow",
      "effect": "Allow",
      "conditions": [
        { "function": "string_one_of", "attribute": "ext_plan", "values": ["premium", "enterprise"] }
      ]
    }],
    "default": { "effect": "Deny" }
  }
}
Step 4: Integrate in Your Application
Get the Token from Clerk
// In a Next.js App Router component
import { auth } from '@clerk/nextjs/server';

export async function GET() {
  const { getToken } = await auth();

  // Get token with your custom template
  const token = await getToken({ template: 'centrali' });

  // token is now a JWT with your custom claims
}
Check Authorization with Centrali
import { CentraliSDK } from '@centrali-io/centrali-sdk';

const centrali = new CentraliSDK({
  baseUrl: 'https://api.centrali.io',
  workspaceId: 'your-workspace',
});

export async function POST(request: Request) {
  const { getToken } = await auth();
  const token = await getToken({ template: 'centrali' });

  if (!token) {
    return Response.json({ error: 'Not authenticated' }, { status: 401 });
  }

  // Check authorization
  const result = await centrali.checkAuthorization({
    token,
    resource: 'premium-features',
    action: 'access',
  });

  if (!result.data.allowed) {
    return Response.json({ error: 'Access denied' }, { status: 403 });
  }

  // User has access - proceed
  return Response.json({ data: 'Premium content here' });
}
With Context for Dynamic Authorization
export async function POST(request: Request) {
  const { getToken } = await auth();
  const token = await getToken({ template: 'centrali' });
  const body = await request.json();

  const result = await centrali.checkAuthorization({
    token,
    resource: 'orders',
    action: 'approve',
    context: {
      orderId: body.orderId,
      orderAmount: body.amount,
    },
  });

  if (!result.data.allowed) {
    return Response.json({ error: 'Cannot approve this order' }, { status: 403 });
  }

  // Approve the order
  await approveOrder(body.orderId);
  return Response.json({ success: true });
}
Step 5: Setting User Metadata in Clerk
To use custom claims like plan or role, set them in Clerk's user metadata.
Via Clerk Dashboard:
- Go to Users → Select a user
- Click Edit metadata
- Add public metadata:
Via Clerk API:
import { clerkClient } from '@clerk/nextjs/server';

// When user upgrades their plan
export async function upgradeToPremium(userId: string) {
  await clerkClient.users.updateUserMetadata(userId, {
    publicMetadata: {
      plan: 'premium',
    },
  });
}
Complete Example: Next.js API Route
// app/api/orders/[id]/approve/route.ts
import { auth } from '@clerk/nextjs/server';
import { CentraliSDK } from '@centrali-io/centrali-sdk';
import { NextRequest } from 'next/server';

const centrali = new CentraliSDK({
  baseUrl: process.env.CENTRALI_API_URL!,
  workspaceId: process.env.CENTRALI_WORKSPACE!,
});

export async function POST(
  request: NextRequest,
  { params }: { params: { id: string } }
) {
  // 1. Check authentication
  const { userId, getToken } = await auth();
  if (!userId) {
    return Response.json({ error: 'Unauthorized' }, { status: 401 });
  }

  // 2. Get order details
  const order = await getOrder(params.id);
  if (!order) {
    return Response.json({ error: 'Order not found' }, { status: 404 });
  }

  // 3. Get Clerk token with custom template
  const token = await getToken({ template: 'centrali' });
  if (!token) {
    return Response.json({ error: 'Failed to get token' }, { status: 500 });
  }

  // 4. Check authorization with Centrali
  const authResult = await centrali.checkAuthorization({
    token,
    resource: 'orders',
    action: 'approve',
    context: {
      orderId: params.id,
      orderAmount: order.total,
      department: order.department,
    },
  });

  if (!authResult.data.allowed) {
    return Response.json(
      { error: 'Not authorized to approve this order' },
      { status: 403 }
    );
  }

  // 5. Perform the action
  await approveOrder(params.id);

  return Response.json({ success: true, orderId: params.id });
}
Debugging: View Token Claims
Create a debug page to see your JWT claims during development:
// app/debug/page.tsx
import { auth } from '@clerk/nextjs/server';
import { redirect } from 'next/navigation';

function decodeJWT(token: string) {
  try {
    const parts = token.split('.');
    if (parts.length !== 3) return null;
    return JSON.parse(atob(parts[1]));
  } catch {
    return null;
  }
}

export default async function DebugPage() {
  const { userId, getToken } = await auth();

  if (!userId) {
    redirect('/sign-in');
  }

  const token = await getToken({ template: 'centrali' });
  const claims = token ? decodeJWT(token) : null;

  return (
    <div className="p-8 space-y-8">
      <h1 className="text-2xl font-bold">JWT Debug</h1>

      <div className="bg-gray-100 p-4 rounded">
        <h2 className="font-semibold mb-2">Token</h2>
        <code className="text-sm break-all">{token || 'No token'}</code>
      </div>

      <div className="bg-gray-100 p-4 rounded">
        <h2 className="font-semibold mb-2">Claims</h2>
        <pre className="text-sm">
          {claims ? JSON.stringify(claims, null, 2) : 'No claims'}
        </pre>
      </div>
    </div>
  );
}
Troubleshooting
"Unknown issuer" Error
Cause: JWT issuer doesn't match the registered provider.
Solution: 1. In Clerk Dashboard, go to your JWT Template 2. Copy the Issuer URL exactly 3. Update your Centrali provider's Issuer URL
Token Validation Failed
Cause: JWKS signature verification failed.
Solution: 1. Verify Clerk's JWKS endpoint is accessible 2. Check token hasn't expired 3. Ensure audience matches allowed audiences
Claims Not Appearing
Cause: Claim mappings don't match JWT structure.
Solution: 1. Use the debug page to see actual JWT claims 2. Verify jwtPath matches exactly 3. Check if claims are in public_metadata (requires {{user.public_metadata.field}})
"Access Denied" with Correct Claims
Cause: Policy conditions not matching.
Solution: 1. Check attribute values are exact (case-sensitive) 2. Verify you're using ext_ prefix in policies 3. Check policy is attached to the correct resource
Related Documentation
- External Authentication - Full BYOT documentation
- Policies and Permissions - Policy syntax reference
- SDK Guide - Centrali SDK documentation
- Clerk Documentation - Clerk's official docs